Installation of Carpet
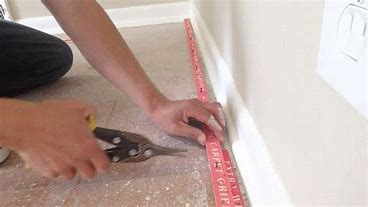
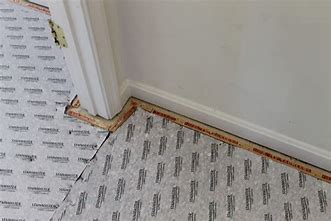
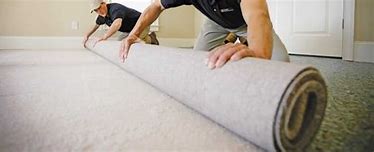
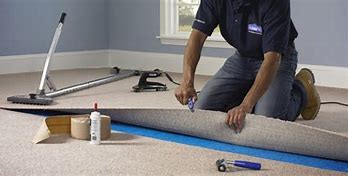
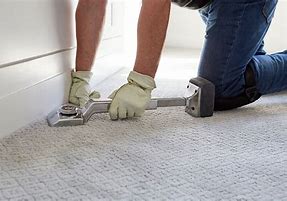
A nice Carpet Compliments a Room and brings its living beauty to life.
Above are some Pictures of a Carpet Being Installed.
Some Materials Needed To Install A Carpet.
| Tack Strip |
As Needed |
| Carpet Padding |
Every 6 Feet |
| Carpet |
As Required |
| Adhesive Strips |
Various Lengths |
Steps:
- Using a hammer or other nailing device install Tack strip throughout the perimeter of the room as Required.
- Place the Padding, Measure and Cut, then Fasten using a Stapler, Staple all seems and the perimeter of the room.
- Place the Carpet, Measure and Cut, Cut all the Edges around the perimeter of the room.
- Next, Using a heat pad and Adhesive Strips Glue together all Carpet Seems.
- Next, Using a Power Stretcher or a Knee Kick Stretcher, Stretch the Carpet and Attach it to the Tack Strip. Enjoy!
Installation of Ceramic or Porcelain Tile
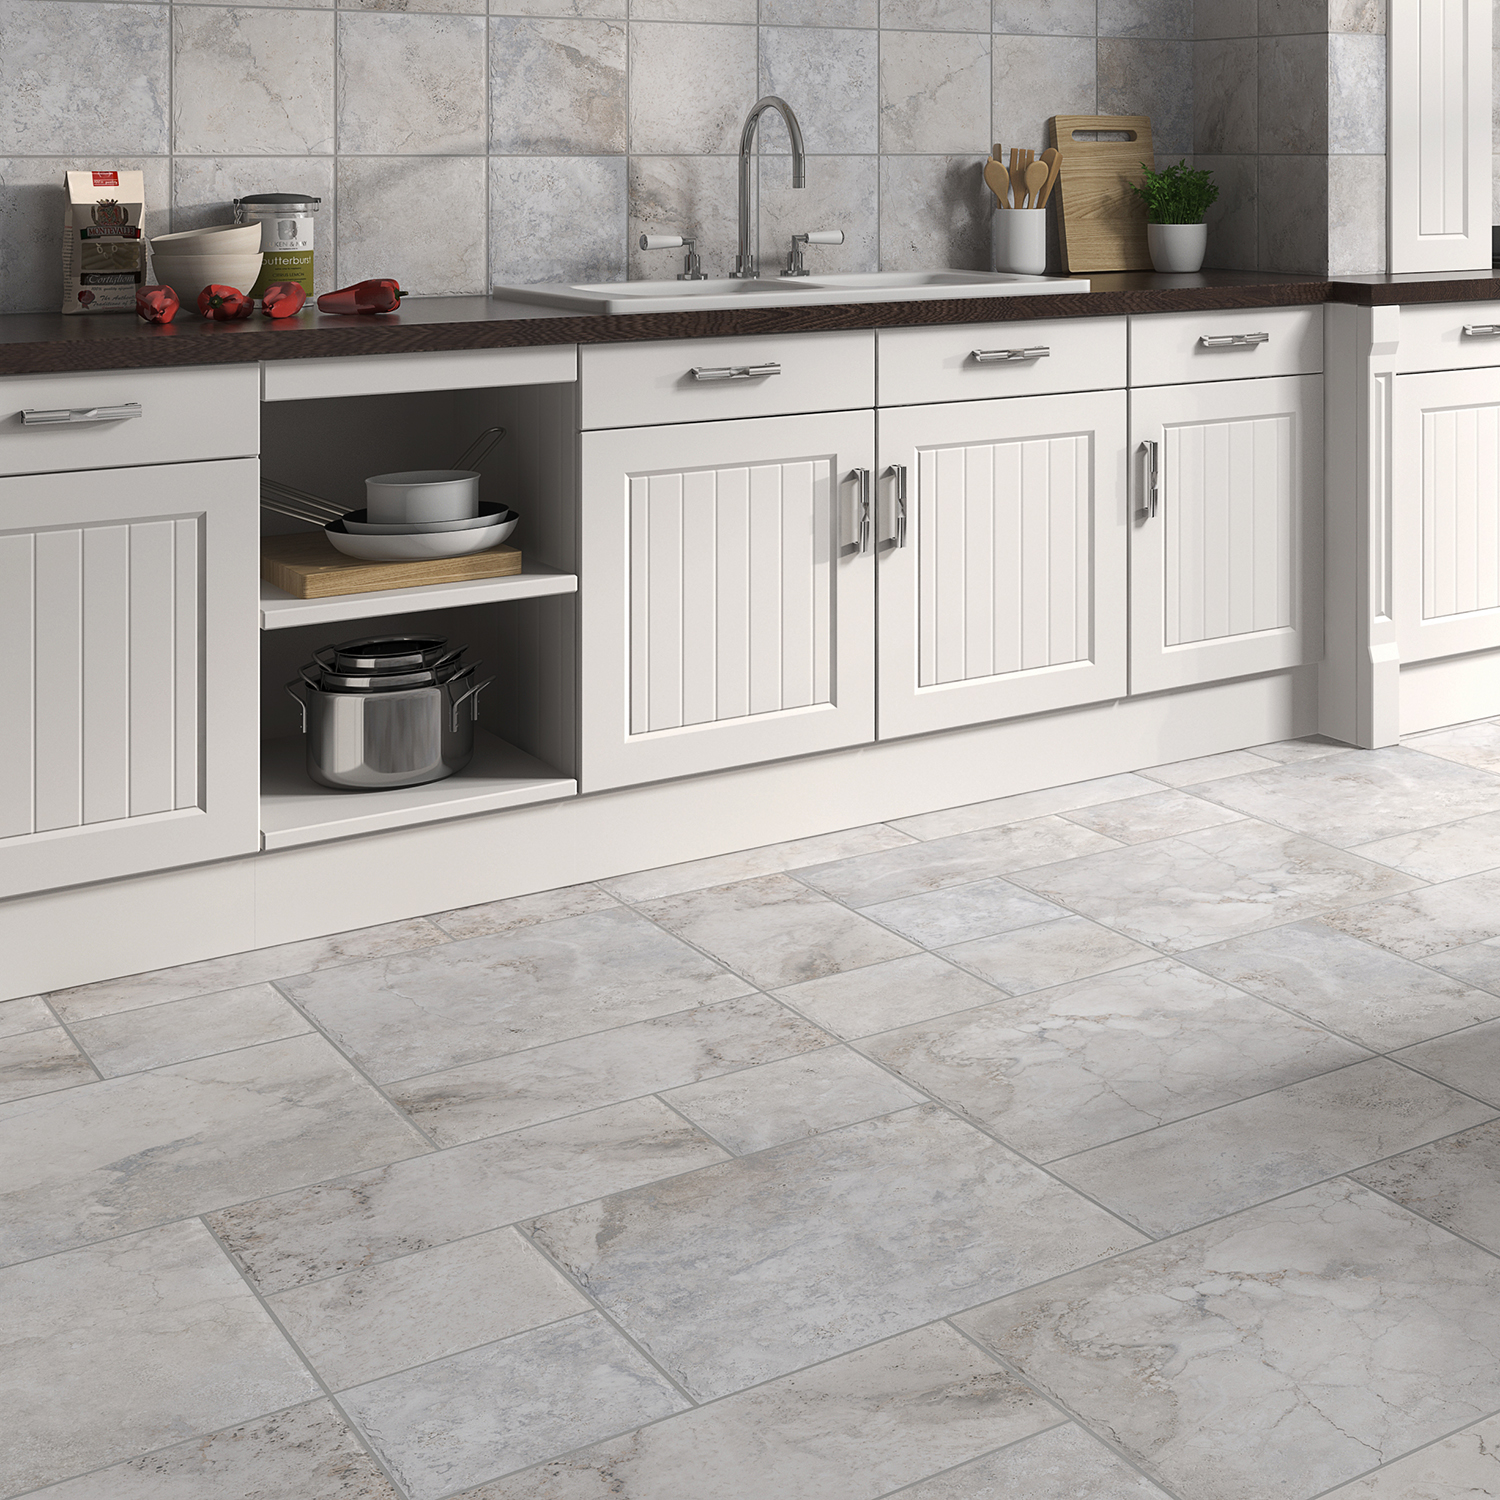
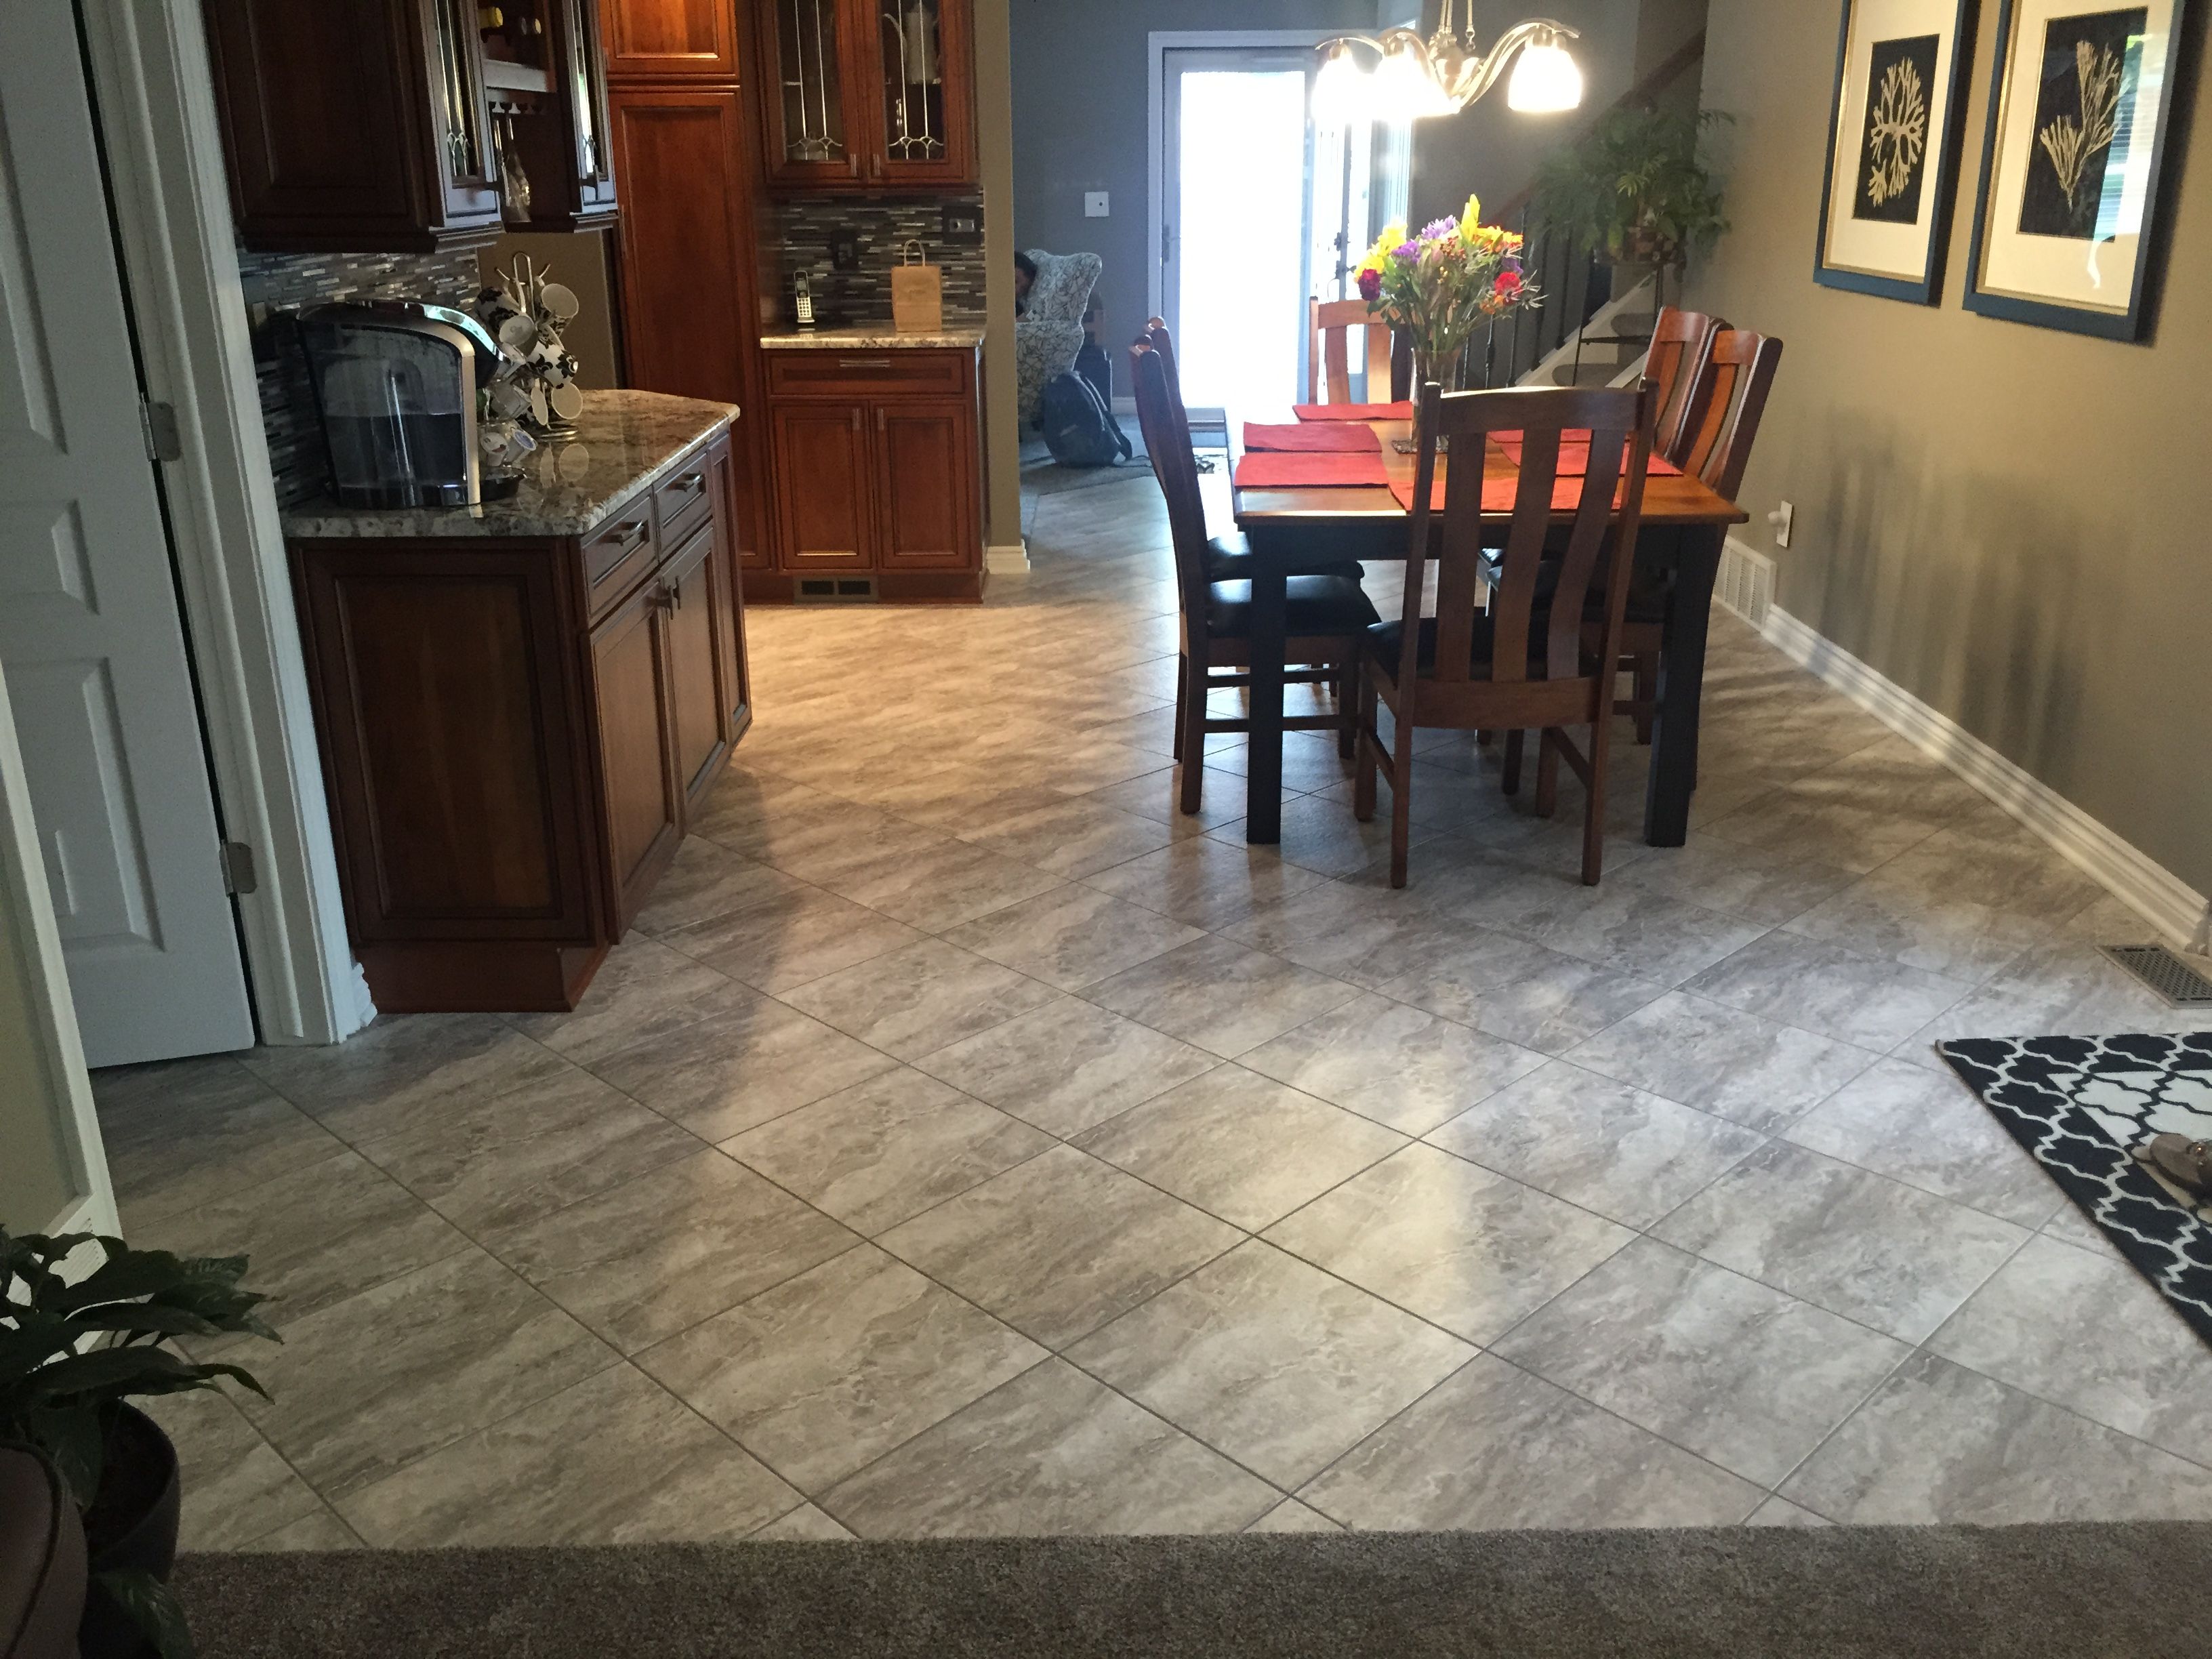
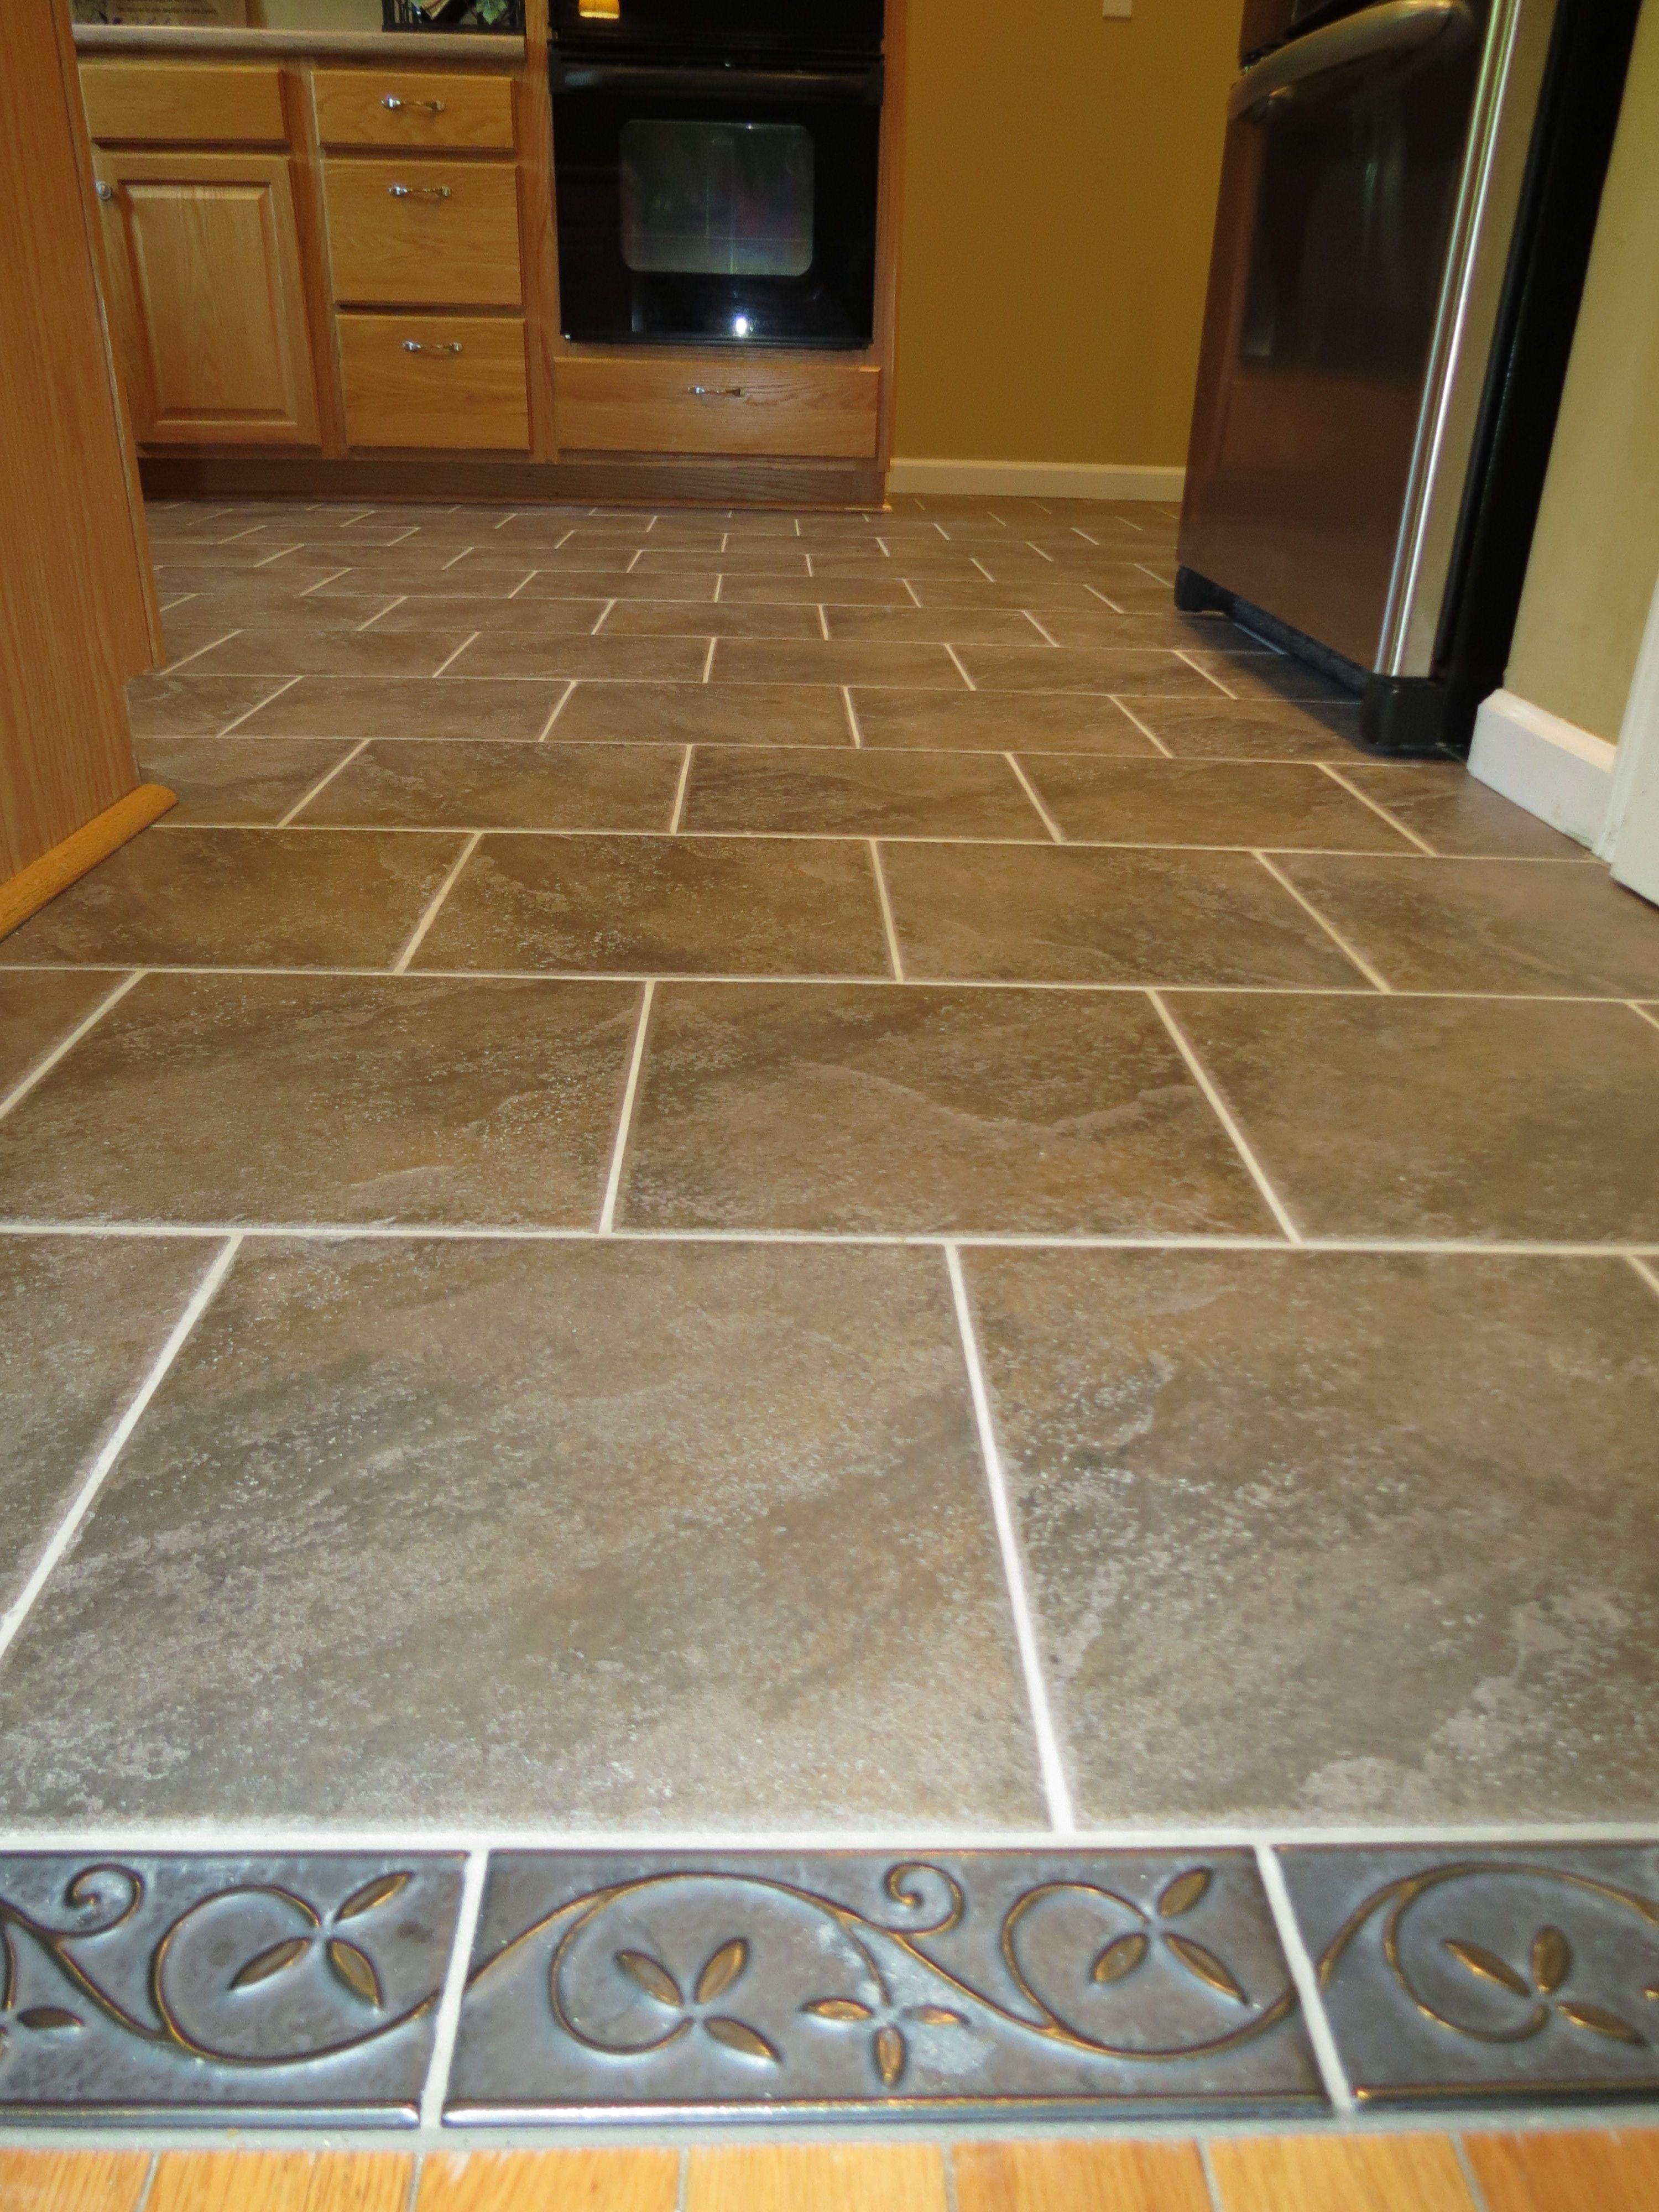
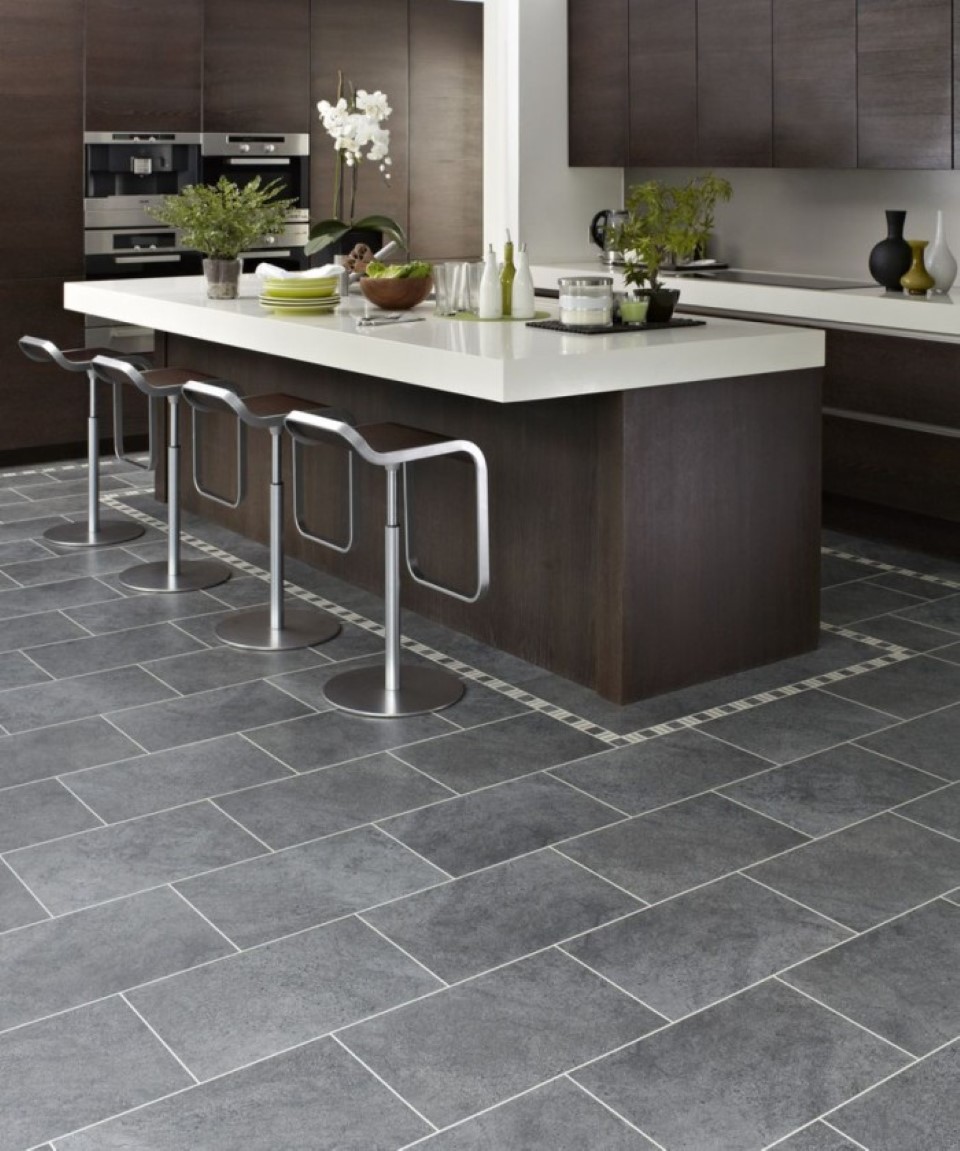
Ceramic and Porcelain Tile Floors are Great for Kitchens and Bathrooms, They are Water Proof and a Breeze to Clean up.
Above are some Pictures of some Ceramic and Porcelain Tile Floors.
Some Materials Needed To Install a Ceramic or Porcelain Tile Floor.
| 2ftx8ft Forms |
As Needed |
| Steel Ties to Length |
Every 24in x 16in |
| #16 & #8 Nails |
As Required |
| 10ft 2x4 Braces |
Every 8ft |
| Reinforcement Steel |
If Necessary |
Steps:
- Layout with Concrete Nails & Chaulk Line. If Reinforcement Steel is Required Place & Tie all Reinforcement Steel.
- Start in the Corners put in Ties Latch Forms Together. After 2 Sets of Forms Make Sure Both Ways Are Level.
- Place the Rest of the Wall Forms, Stageing to Walk On, Chases, Inserts, Windows, Beam Pockets, Etc.
- Calculate the Concrete Needed. Call the Concrete Truck. Place The Concrete. If Winter Apply Winter Protection.
- Above You Will Find some Pictures of a Concrete Wall After the Concrete is Poured and Stripped. Enjoy!


